8 November 2012 -- A Little More Progress: Rafters and Soffits
 |
| Enjoying a break from the rain. |
After a productive stint that saw our framing completed and installed in place, it was time to throw up the rest of the rafters and install the vented soffit blocks that sit nestled between the rafters, atop the stud walls.
We used our trusty radial-arm mitre saw to mass-produce twenty identical rafters with cut-out birds-mouth joints (illustrated here), plus two pairs of end rafters without birds-mouths. These end rafters will be fully exposed as the fascia board above our gables, so we took the time to sand them nice and smooth. We fashioned the rafters from 2x6 lumber to allow plenty of space for insulation, spaced on 24" centres to minimize weight and material cost.
 |
| Scott uses an orbital sander on the end rafters, which will end up on display. |
We also made about two dozen of what I will call "vertical soffit blocks." Soffits are vented areas underneath a roof overhang, and are generally found in a horizontal plane. Our design will be a slight twist on this idea, but the basic idea is the same, a screened vent to allow the roofing insulation to breath, while keeping out unwanted pests. We used 2x6 lumber again, and bored sets of three 1.5" holes, measured against a template. A boring job for sure, but Tim was quick to jump to the task while Bailey jittered away on the orbital sander and Scott applied a preserving treatment to our freshly-made pieces.
Once our rafters and soffits were cut, and the appropriate sanding completed, it was time to treat the wood that would be exposed on the out-/underside of the roof (fascia board, exposed rafter ends, soffits). We used a product that used to be called LifeTime, now "Eco Wood Treatment" (website here), made on Salt Spring Island. It comes as a powder that you stir into water. 'Non-toxic', blah blah blah. It cost us about $20 to mix up one batch of 4.5L, which is enough to treat approx. 150 sq. ft. according to the label. This treatment prevents moulding/mildew and causes the wood to age a silvery colour, much like exposed cedar. We used a paintbrush for application and coated the exposed ends of our rafters, as well as the outside faces of the soffit blocks. We decided it would be wise to treat the pieces on the ground, rather than after we had installed them nearly ten feet above grade.
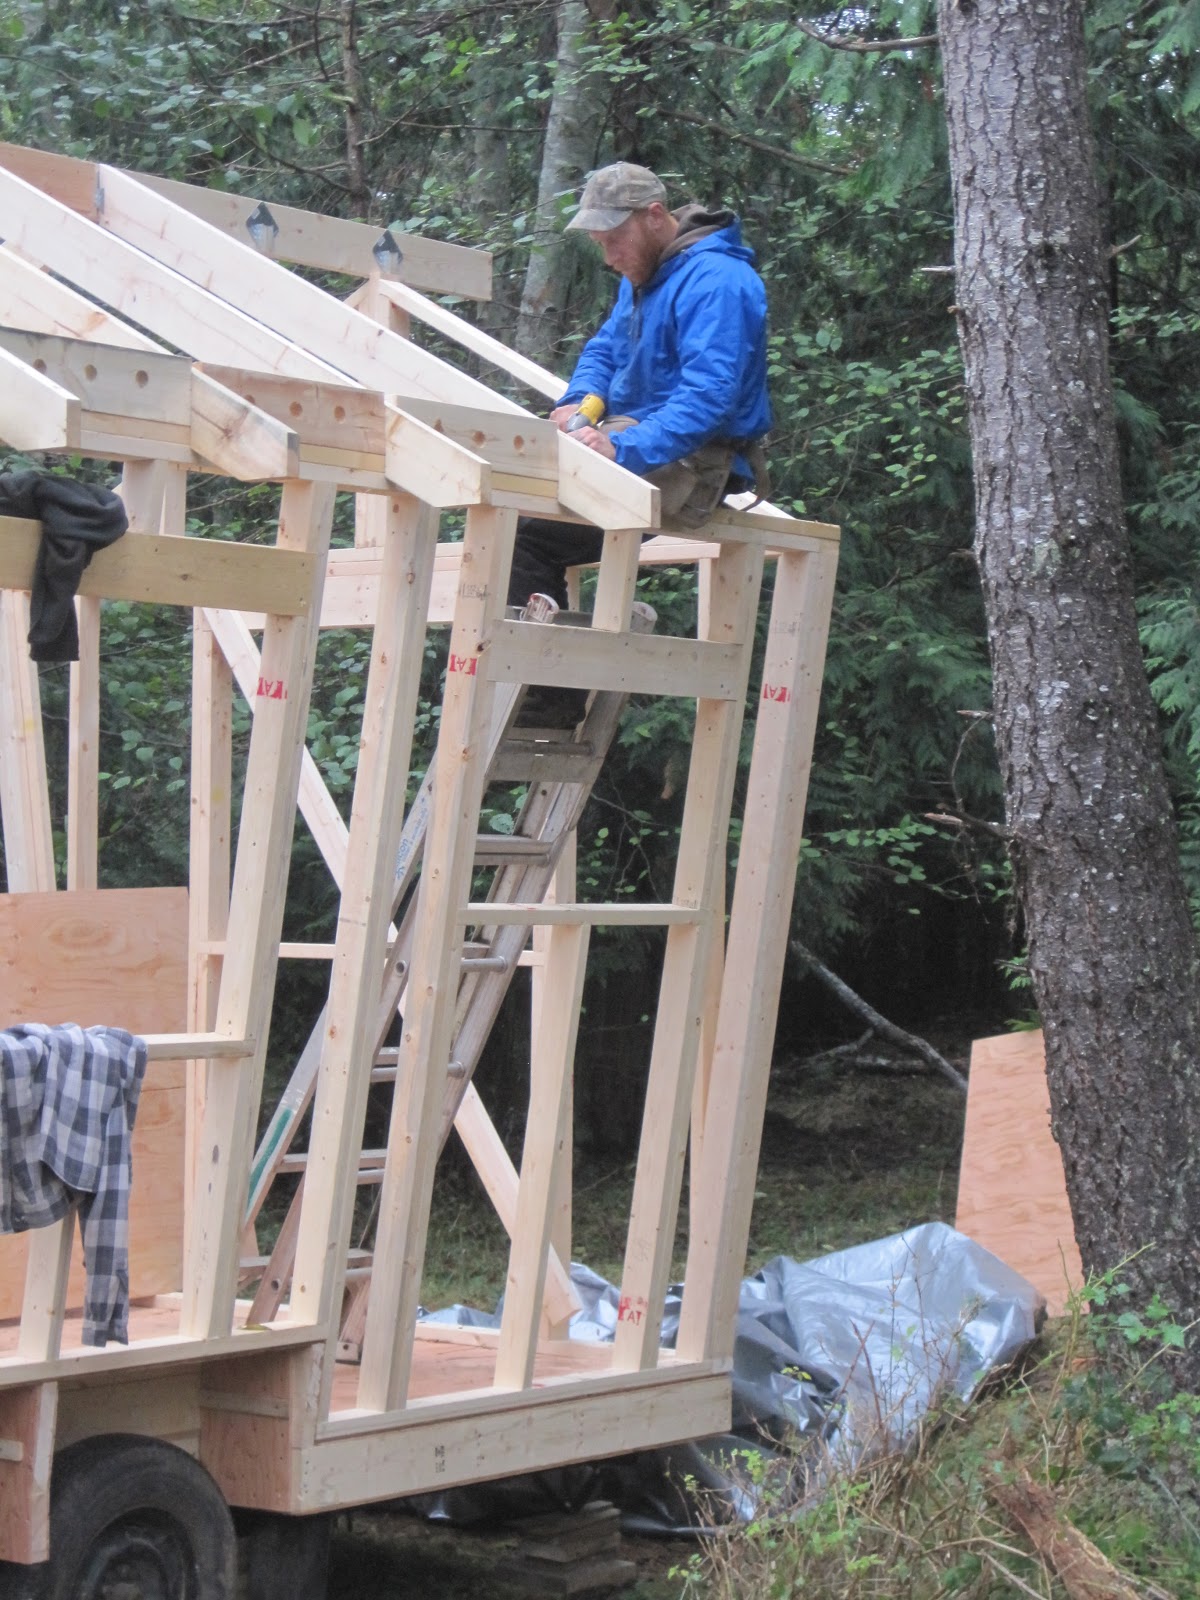 |
| Note the two empty hurricane clips visible on the ridge line, waiting for their rafters to be installed. |
By the end of the day we had our rafters up and our heavy-duty tarp secured over top of everything to keep out the rain. Boy did that feel good!
More work to come this week, so stay tuned and we'll keep you updated on our progress.
Thanks again!
Bailey & Scott

No comments:
Post a Comment