Monday 19 November 2012

Things begin to take shape.

Strapping and fascia boards up. Exterior plywood cut and fitted.

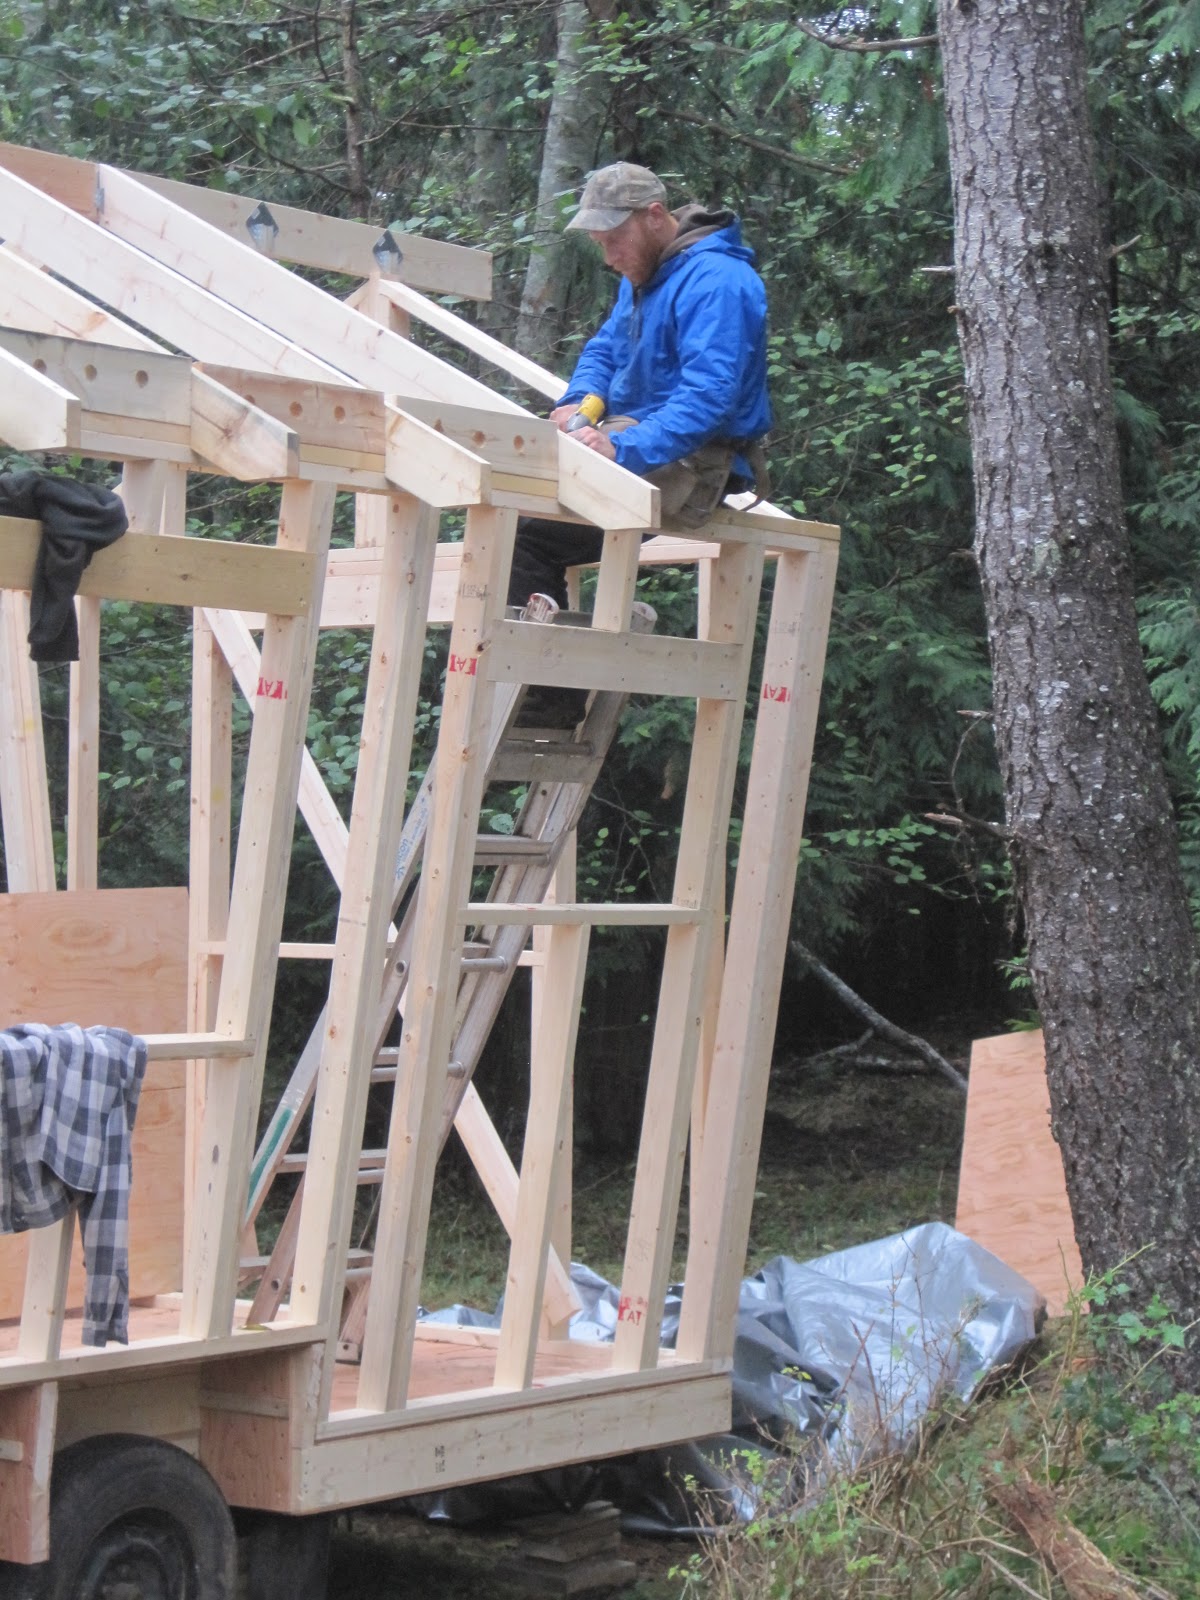
With our rafters all in place and our soffit blocks installed, the next step was to put up the strapping and fascia board to complete the structural elements of the roof.  Strapping acts as a skeletal structure underneath the metal roofing and also gives some substance for the roofing screws to bite into.  We used 1x4s on 18" centres, running laterally the whole length of the roof.  We treated the exposed ends with LifeTime.  We also had to add some more pieces of 1x4 atop the rafters capping the end walls, between the rows of strapping.  These pieces filled the gaps below the roofing sheets and above the end rafters. 
Here you can see two rows of strapping, as well as a "finger block" (darker brown).
The piece with the cutout at the bottom of the photo sits atop the gable end rafter.
We also had to make what I will name "finger blocks." These are illustrated above, and serve to fill the little gaps between the soffit blocks.  We also treated these with LifeTime.  The basic idea is to not have big openings for rodents or other unwanted pests to enter the insulated cavity below our roof.  Next, we added the horizontal fascia boards, which also received LifeTime treatment.  These attach to the bottom ends of the rafters and run laterally.  They will sit behind the gutters once they are installed.  

Plumber's Hanger used to reinforce framing.
Large Xs provide extra shear strength.

Another process we did at this stage was to add some structural reinforcement to our framing.  Traditional framing focuses its strength vertically, working to resist gravity, but doesn't provide much resistance against shear (diagonal) stresses.  The plywood for our exterior sheathing will provide significant shear strength to our structure,  but we wanted to give it a bit more strength to resist the strains of transport.  We used standard Plumber's Hanger (PH, essentially metal ribbon with holes every 1/2" or so) stretched across the framing in large Xs, avoiding the openings for windows, and nailing it to each stud or plate it overlapped.  We did this on the exterior face of the framing, so as to not get in our way when we install wiring, insulation, etc.  (Be sure to use flat-headed nails to attach the PH.  If you use screws or other fasteners with a high profile head this will cause troubles down the road when you attach your exterior sheathing.)  The more elements of your structure that any given length of plumber's hanger ties together, the better.  We also nailed several small L-shaped pieces of PH around each corner to further tie our framing sections together.

You can make your own skill saw guide
by screwing a length of 2x4 on top of your sheet of ply.
Now for the tricky part, measuring and cutting the plywood for the exterior sheathing.  Thankfully, we had use of a skillsaw guide to help make the long, straight cuts running the length of our sheets.  This is a metal guide with an adjustable clamp that attaches to a piece of plywood, acting as a rule or cutting guide.  If you don't have access to a guide you can make your own by simply screwing a 2x4 onto the piece of ply to be cut.  Be sure to measure the distance from the blade to the edge of your skillsaw's built-in edge guide, and adjust accordingly.  Our saw has 25/16" gap between the blade and guide edge, so we had to subtract 25/16" from each measurement when we placed our clamp-on saw guide.
 
Our decision to have sloping walls meant that our plywood pieces were a bit more complicated than they would have been if our walls were all plumb (straight up and down).  

First we measured and cut the short plumb strips covering the floor joists.  We did these in 4 foot widths, so our edges would line up with the larger sheets sitting above them covering the sloped part of the wall.  We screwed the bottom row pieces in place with 2 1/2" screws.  Above these ran the tall (nearly 7 feet long) wall sections, reaching from the floor up to the lower edge of the rafters.  These we fitted and installed one at a time, making sure to snug up the edges so they fit tightly in place.  

We did the sloping sides of the caravan first, then measured up the short ends.  We started in the middle of the short ends and worked outwards so we could trace where the backside of the "wing" pieces overlapped the sloping walls.  (Photos below.)


Here you can see the door step-out
and "wing" plywood in position.
Cut from one piece:
Door step-out (left) and "wing" of short wall (right).

Now all of our plywood has been cut and fitted.  But we're not through yet.  We still have to install a line of flashing along the bottom edge of the sloping walls, and there's much painting to be done.  We had discussed the idea of painting the sheets of plywood before we put them up, but we didn't have our paint yet, and were eager to continue making progress while we had cooperative weather and time available to us.  So now it looks like we'll likely just paint it as is.

Our roofing order should arrive tomorrow, and we plan to head into town on Thursday to pick it up.  We hope to have it up and installed soon after.

Furthermore, today Bailey finished building frames for the three wooden double-paned window sashes that we got for a song from Demxx.  Yeehaw!

It has been really exciting to have our patrons, friends and land-share partners drop in on our worksite, and to have our first sit-down conversations inside our burgeoning home.  

A big thank-you to all of our friends, family and community members who have helped us out thus far.  We certainly wouldn't be at this stage in the process if it was just the two of us stumbling through things.  For those of you who might be considering embarking on a similar project, don't forget that the people around you can offer a wealth of support, advice, and encouragement.  

We are so excited to see our home come together, and eager to get our roofing installed, and our door and windows too!


Thursday 8 November 2012

A Little More Progress: Rafters and Soffits

8 November 2012 -- A Little More Progress: Rafters and Soffits

Enjoying a break from the rain.
After a productive stint that saw our framing completed and installed in place, it was time to throw up the rest of the rafters and install the vented soffit blocks that sit nestled between the rafters, atop the stud walls.  

We used our trusty radial-arm mitre saw to mass-produce twenty identical rafters with cut-out birds-mouth joints (illustrated here), plus two pairs of end rafters without birds-mouths.  These end rafters will be fully exposed as the fascia board above our gables, so we took the time to sand them nice and smooth.  We fashioned the rafters from 2x6 lumber to allow plenty of space for insulation, spaced on 24" centres to minimize weight and material cost.

Scott uses an orbital sander on the end rafters, which will end up on display.
We also made about two dozen of what I will call "vertical soffit blocks."  Soffits are vented areas underneath a roof overhang, and are generally found in a horizontal plane.  Our design will be a slight twist on this idea, but the basic idea is the same, a screened vent to allow the roofing insulation to breath, while keeping out unwanted pests.  We used 2x6 lumber again, and bored sets of three 1.5" holes, measured against a template.  A boring job for sure, but Tim was quick to jump to the task while Bailey jittered away on the orbital sander and Scott applied a preserving treatment to our freshly-made pieces.  

Once our rafters and soffits were cut, and the appropriate sanding completed, it was time to treat the wood that would be exposed on the out-/underside of the roof (fascia board, exposed rafter ends, soffits).  We used a product that used to be called LifeTime, now "Eco Wood Treatment" (website here), made on Salt Spring Island.  It comes as a powder that you stir into water. 'Non-toxic', blah blah blah.  It cost us about $20 to mix up one batch of 4.5L, which is enough to treat approx. 150 sq. ft. according to the label.  This treatment prevents moulding/mildew and causes the wood to age a silvery colour, much like exposed cedar.  We used a paintbrush for application and coated the exposed ends of our rafters, as well as the outside faces of the soffit blocks.  We decided it would be wise to treat the pieces on the ground, rather than after we had installed them nearly ten feet above grade.  

Note the two empty hurricane clips visible on the ridge line,
waiting for their rafters to be installed. 
We installed H1 hurricane clips on our ridge line before installing the rafters.  These are little metal clips similar to joist hangers.  They have holes for roofing nails and attach the rafters to the ridge line.  We will also use a row of hurricane clips at the bottoms of the rafters, where they cross the top plate of our stud wall.  As the name suggests, they fasten the bottom edge of your roof to the top edge of your walls, so that if a huge gust of wind comes along your roof doesn't rip open like a can of soup.  We're not particularly paranoid about hurricanes, but the clips will help to secure everything together and resist any movement of the walls or rafters.

By the end of the day we had our rafters up and our heavy-duty tarp secured over top of everything to keep out the rain.  Boy did that feel good!

More work to come this week, so stay tuned and we'll keep you updated on our progress.

Thanks again!
  Bailey & Scott


Monday 5 November 2012

The Walls, They are Up!

Four walls up, and end rafters in place.
Update: November 5.    WALLS!

After a significant lull in our production schedule (making time for some very wet and windy weather and Halloween celebrations that echoed over nearly a week) we managed to get back on task and put some real time in on our project.

Our friend Tim's expertise and assistance has been integral to our quick progress in this last week.   Tim was the perfect person to help us on this project, having built his own custom caravan.  In fact, the designs for our caravans are quite similar, the main difference being that he used curved logs for his roof supports.

Once we had our floor platform completed, the next step was to begin framing up the sections of our walls.  We did our long walls in three separate sections, in order to accommodate the wheel wells, and to avoid having to lift long heavy sections.  We had decided on the placement and height of our windows while determining our floor plan.  Lots of measuring and cutting ensued.  Luckily, Tim is old hat at that game, and we did about half of the framing in one day.  Another short day of work saw us complete a good deal more framing, and having most of the cuts prepared for the next day's work.

Framing for kitchen end-wall.
The diagonal brace held it solid and square until put in place.
Installing wall above wheel well.
Today we were blessed with beautiful sunny weather, which allowed us to get in a full day's work.  Once all of the wall sections were assembled it was time to build and attach the gable ends (that's the upper part of the end walls that sticks up to cover the gap under the roof).  Now we put the wall sections in place one at a time, beginning with the built-out section for the door, which stood upright on its own.  Next came the adjacent short-end wall.  The sections went up surprisingly fast once we had them all fabricated.  Now it was time to attach the double plate, a continuous line of 2x4s running along the top of the wall edge.  This ties the whole structure together and supports and distributes the weight of the roof coming down off the rafters.

Coming together.

The whole time we were assembling the wall sections we had giant grins on our faces.  This was it, the walls were going up.  Our imaginings were finally beginning to take shape and define the outlines of our new home.  Now, we realize there is still an incredible amount of work to go until we're at lockup, not to mention all the finishing work that will follow.  But that said, it feels like we're coming along at a healthy pace, and within a week or so we can have our rafters up and tin roof installed.  Now if only we could agree on a colour....

Our Hero: Tim installs the double plate.
Tip of the Week: One of your most important resources is your tool belt.  Get in the habit of wearing it, and training yourself to return your tools (pencil, tape measure, speed square, hammer....) to your belt immediately so that you don't walk away to another area of your worksite only to realize you left your tape measure at your chop saw.  I have wasted countless minutes walking back and forth, looking around for my pencil.

Thanks to all the people who have taken the time to read our blog and share it with others who might find it interesting or inspiring.  We have been inspired by our friends, who have shown us it's possible to build yourself a modest home at a reasonable price.

Hurray for life without a mortgage!  

With love,
  Bailey and Scott.